

I finally finished the PS3 game The Last of Us. Not because I didn’t have the time or found it boring. In fact, I refused to play it unless someone else was around because I was so scared of getting my character eaten by all the different infected zombie-like creatures. What my boyfriend pointed out to me was that I took a very odd approach to defeating them and probably the reason I was so scared all the time. I always chose to melee them up close and personal instead of using any of the guns I carried from a safe distance. I spent a ridiculous amount of time and resources upgrading my melee weapons.
Now why am I writing about my video game strategy? Because it is a great metaphor and I wanted to let everyone know that I finished the game, all alone, with minimal screaming and throwing the controller.
Your muscles are like your melee weapons. You defeat your foes with your body time and time again. And if you don’t defend yourself you fall to defeat. Or get eaten by said zombie-like creatures. In order to survive the game, you must constantly upgrade your weapons.
Time to upgrade your arsenal! I am talking about the basic exercises that help you build strength that you do almost every workout! Here are the top 5 basic exercises that I’ve swapped out—but, you guessed it—upgraded for better use of my time and are more sports-specific.
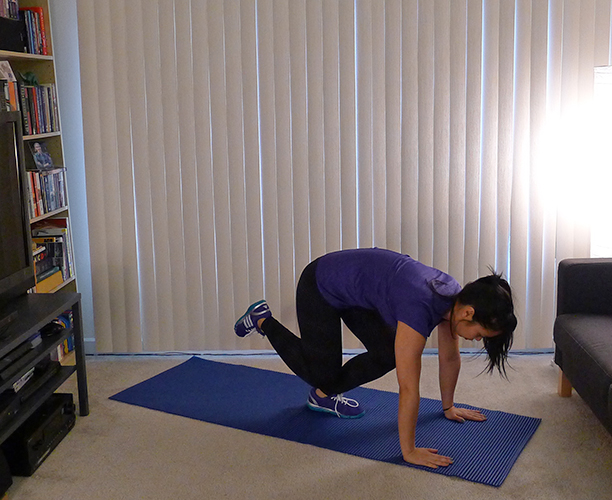
1. bird-dog < bear reach
As much as I love bird-dog for balance and core stability, I needed something more rounded that involved my lower body other than my quads. I found this amazing exercise tip from a hockey trainer named Maria. A common ailment of skaters and runners alike when not properly warmed up is shin splints. Rather than suffering through the pain and having to stretch it out immediately, add this exercise into your routine to prevent it.
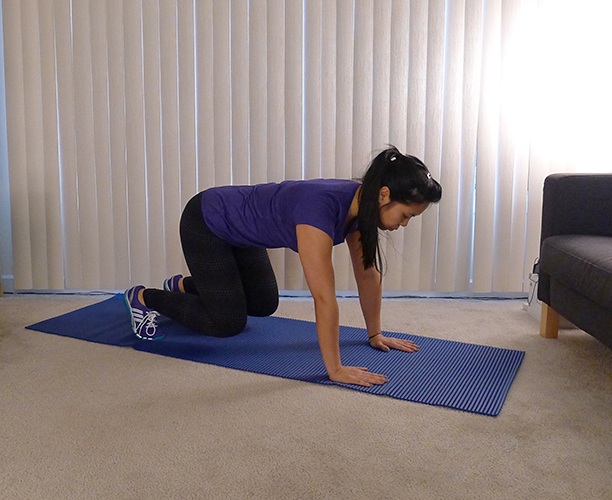
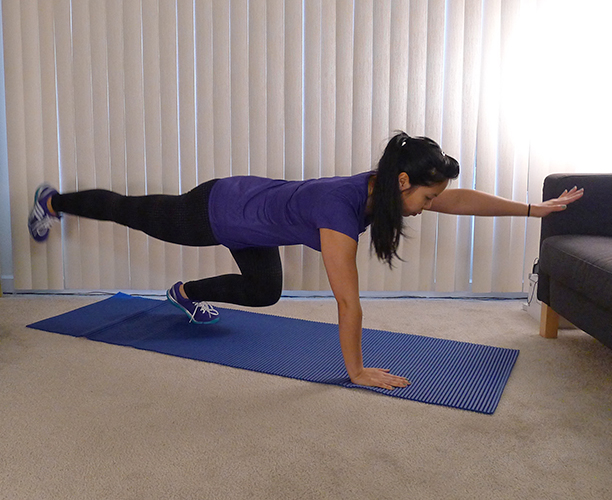
Very similar to bird-dog, start on all fours, with your hands directly below your shoulders and your knees under your hips. Now instead of resting on your knees, tuck your toes under as you would in a plank position, but keep your knees hovering just above the ground. Slowly raise one arm in front of you while straigthening the opposite leg behind you. Use your lower leg muscles to stabilize while engaging your core. Pause, then lower and repeat on the other side. Shins and ankles on fire? Good. Keep it up and you’ll find it won’t be a problem in a week or two. Maria recommends starting with just 3 reps.
2. glute bridge < elevated glute bridge
A common misconception athletes have is associating movement and power with the wrong muscles. A muscle that is widely overlooked is the gluteus maximus. The gluteus maximus is the largest muscle in the body, how could it be constantly overlooked? All the movement and rotation that comes from your hips is actually being done by your glutes. It is also the muscle that supports hip stabilization. Next time you are making a hip movement, go ahead and feel your backside like Beyonce and see if it is engaged.
What I like so much about an elevated glute bridge is that it gives you a wider range of motion. A lot of times you will see an glute bridge done with feet elevated, but I like shoulder elevation because you can keep your neck and spine at a better neutral position. At the top, you find yourself with no choice but to squeeze your glutes to stay elevated, while engaging your core for backup.
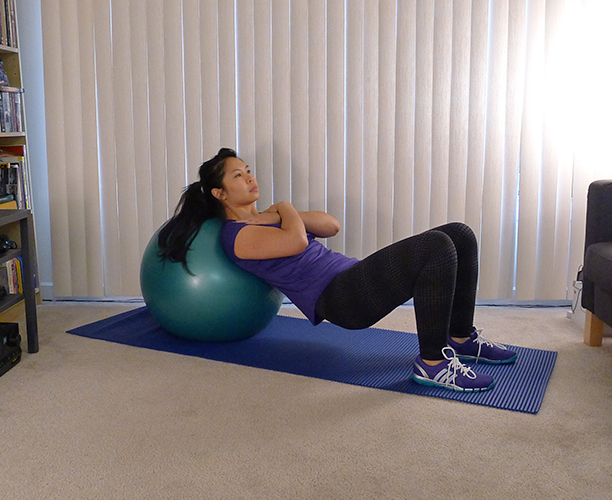
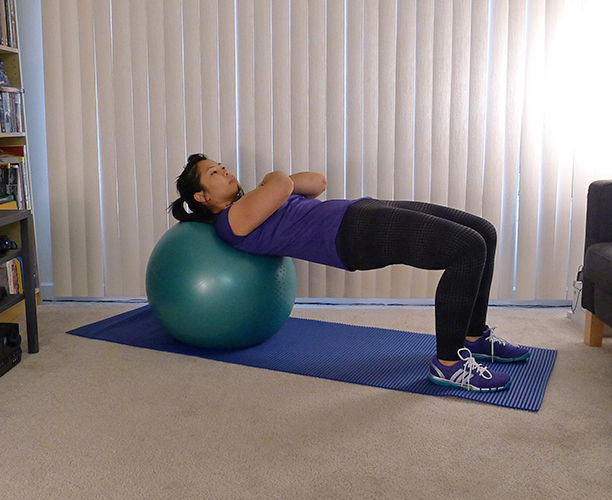
Using a stability ball, the edge of the padded bench or your dog, rest your upper half on it just above your shoulder blades. Make sure you are not using your upper back so that your glutes are making the primary movement. With your feet planted firmly and your butt resting on the floor, push up to the elevated position by engaging your glutes and squeezing them at the top. At the top, pause while activating your core, then slowly lower and repeat. 12 to 15 reps.
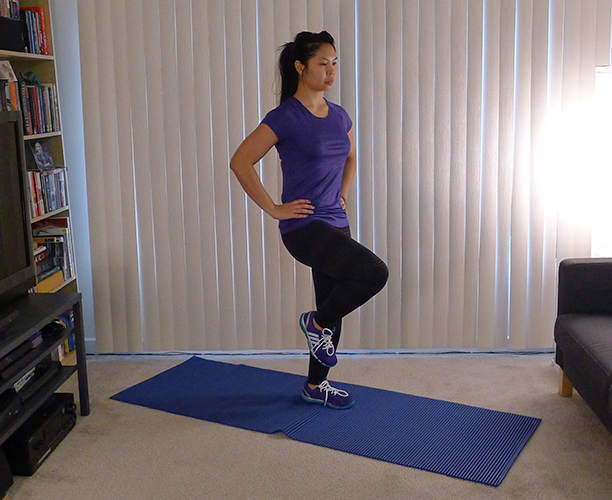
3. russian twist < side wood chop
I am learning more and more about spine health these days. There are a boat-load of exercises that are actually dangerous for your spine and cause damage down the line. Since then, I’ve stop doing crunches and situps since they cause your spine to compress itself. This also includes any exercises that cause the spine to twist. Turns out, there is a reason why that song is called twist and shout.
Aren’t I still twisting when I do a side wood chop? It may look like it, but no. A wood chop is turning your body while keeping your upper body out of the movement and saving your spine, because what is driving the movement is your hips—and my favorite—your glutes.
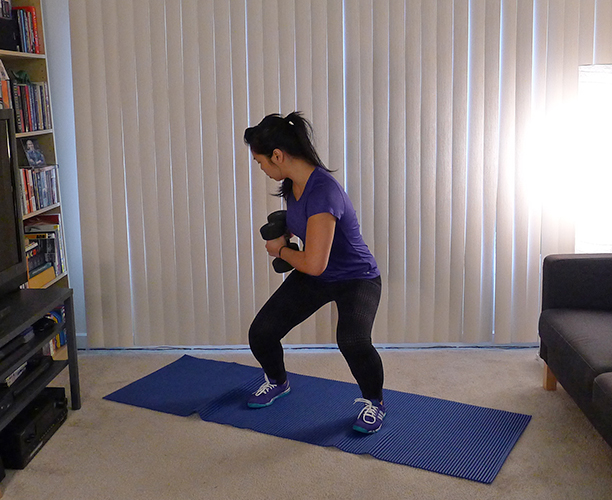
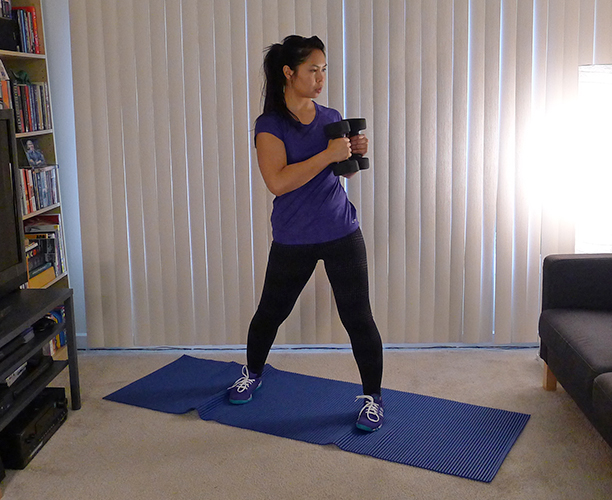
Grab a weight in both hands or just one weight and stand in a squatted position with your feets a little wider than your shoulders. Start with the weights down by your hip, then drive your hip towards the opposite side as you stand up, ending with the weights at your opposite shoulder. Your back should have no movement at all! Try the movement a few times before adding any power or resistance to it. 12 to 15 reps on each side.
4. push up < push up to 1-leg squat
I learned this one from a surfer. Most times when you find yourself on your stomach in a sport, you are either getting ready to pop up or you’ve just face planted and need to recover as quickly as possible before it forever marks the end of your career. Push ups are essential to building upper body strength that requires no equipment whatsoever, although they are one of the most challenging exercises to complete. Form is your saviour here, and once you’ve conquered it there is no time to waste. Upgrade your push up by adding a 1-leg squat to the mix. Think of this as a modified burpee of sorts, but without the exquisite hatred of doing a burpee.
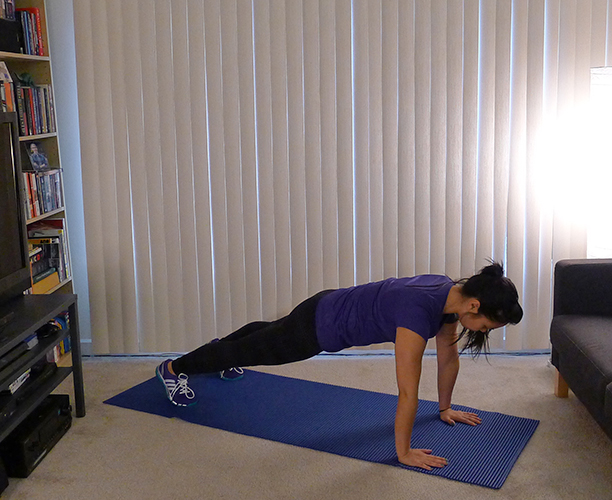
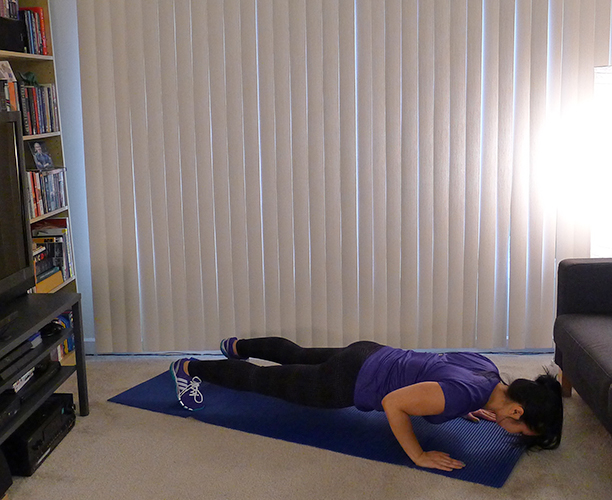
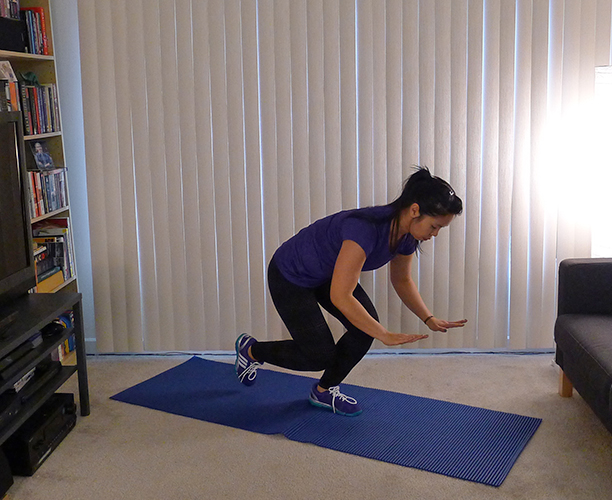
Start in a push up position with your hands under your shoulders, butt down and neck neutral. Lower down and back up as far as you can in perfect form, then with your weight forward, hop one foot under your hip keeping the other foot off the ground. Push back from the ground and rise to a standing position on the one foot. Then, once balanced, lower back down in a squat and return to the starting position. Do only as many as you can in perfect form, then live to surf another day. Vaya con dios, brah.
5. lateral lunge < stability ball single leg squat
Another underappreciated lower body muscle is simply the groin. Sports that require a lot of lateral, quick movements often bring an onslaught of groin pulls. The culprit here is that a groin muscle is strained or pulled from the inability to stretch. Lateral lunges are great for hip abduction strength. If you have been owning lateral lunges like a boss, try this advanced level move. DO NOT do this if you are recovering from a groin pull or have a weak groin. Baby steps, people. The alternative to using a stability ball is to simply do the move without it, or attach a light resistance band to that ankle.
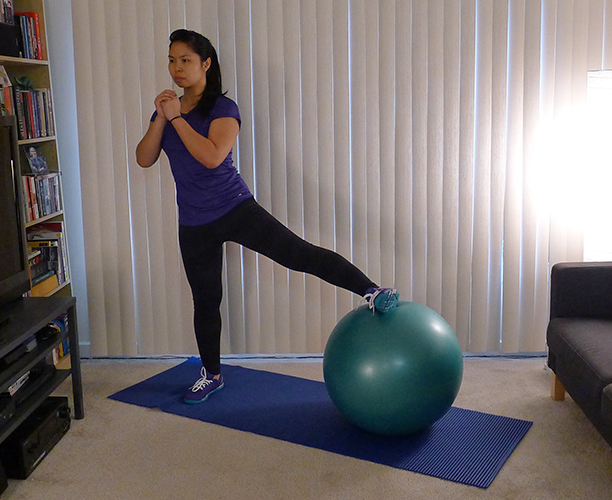

Start with one leg on top of a stability ball and the other underneath your hip. Push your hips back first as you lower into a squat, making sure your knee stays over your ankle the whole time. Only go as far as your groin will let you, this is a very small movement meant to stretch your groin muscle, not build power of any sort. You will notice the leg on the stability ball doesn’t make much movement, which is a good thing. Aim for 6 to 10 reps on each side.
Now let’s go kick some zombie ass.